
TrakView Installation Guide
Unboxing and what’s included
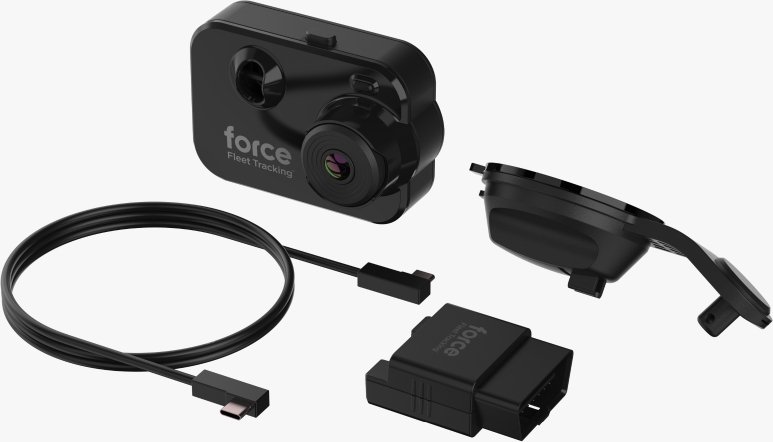
First, let’s make sure the box has everything you need.
You should have:
- TrakView Dashcam
- OBD-II device
- Power cable
- Tuck tool
- 3M mounting disk sticker
- Quick Start Guide
Prepare for Installation

Position your vehicle outside, to ensure a strong LTE cellular connection.
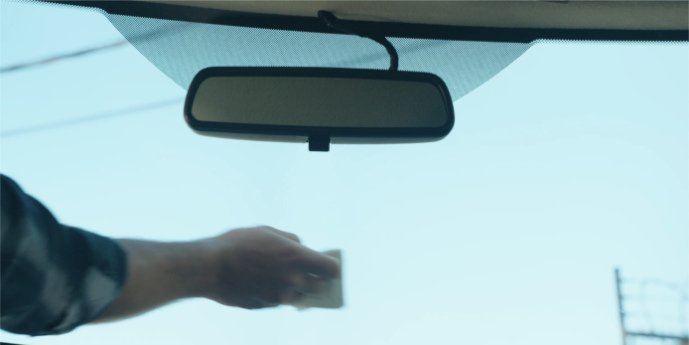
Clean your windshield.
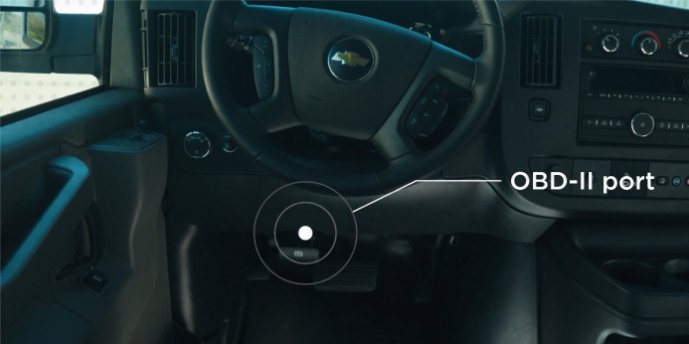
Locate the OBD-II port on your vehicle. It’s usually found below the driver’s side dashboard.

Leave your vehicle engine off until prompted.
Launch Force Fleet Tracking App
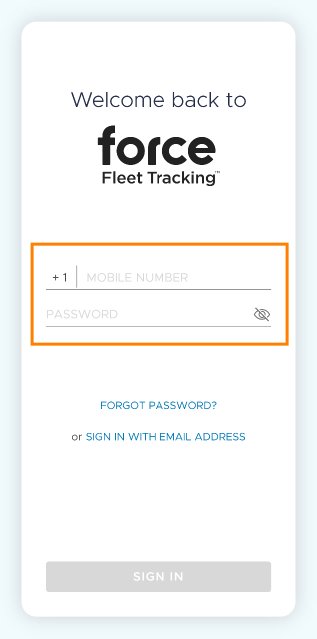
Login to your Force account.
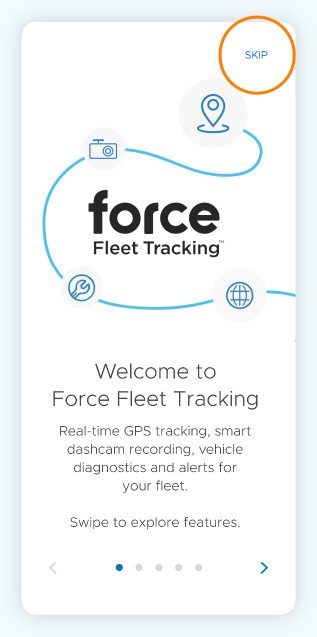
New customers: Swipe past welcome screens to the Install menu.
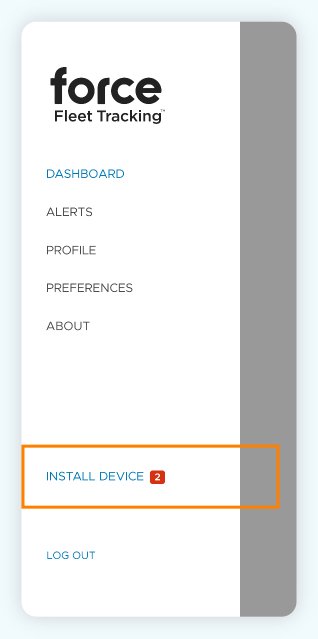
Existing customers: Select ‘INSTALL DEVICE’ on the lower left.

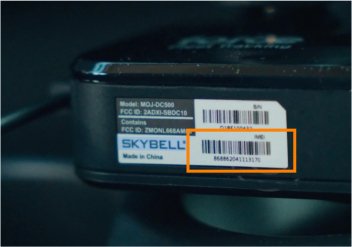
Tap IMEI number that matches number on TrakView Dashcam sticker.
TrakView Dashcam Assembly
Connect the power cable to the TrakView Dashcam.
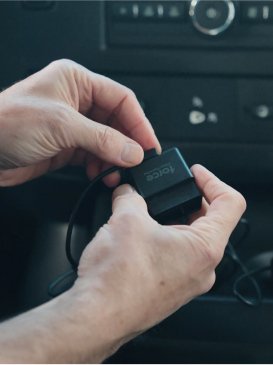
Connect the power cable to the OBD-II device.
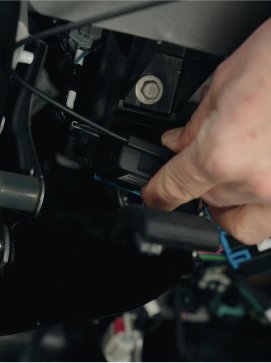
Plug the OBD-II device into your vehicle’s OBD-II port. Take care not to force the device.
Start your vehicle.
Activate TrakView Dashcam and Verify Live Feed
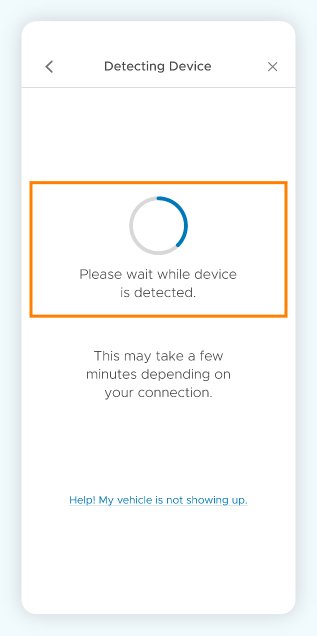
Wait for the app to detect the TrakView Dashcam.
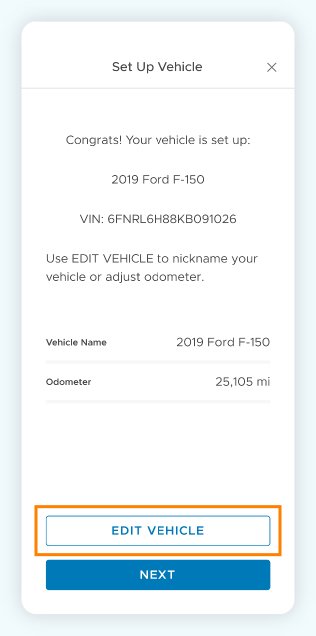
Complete Set Up Vehicle steps. If some details are not captured, use EDIT VEHICLE to complete registration.
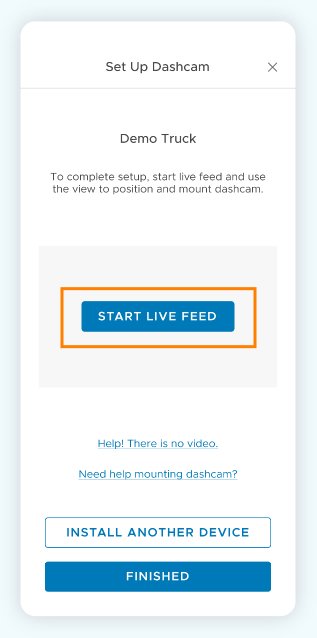
Start live feed.
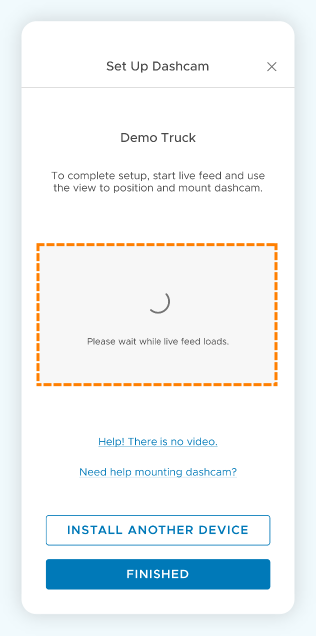
Wait for the video feed to connect.
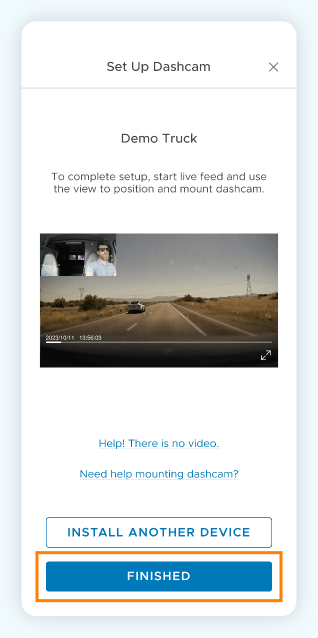
Confirm live feed.
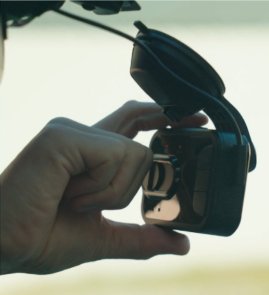
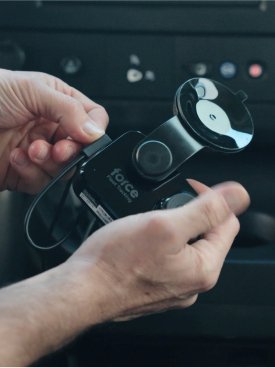
Mount TrakView Dashcam, then press tilt adjustment button and use video feed to determine the ideal video capture position.
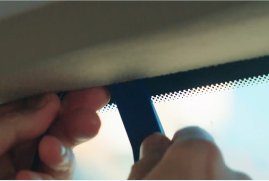
Hide the power cable using the tuck tool.
That’s it! Installation is complete.
If you have more TrakView Dashcams to install, return to the INSTALL DEVICE prompt in the Force app menu and follow the steps again.
Tips for Drivers
- Crashes are automatically recorded
If an accident occurs, the TrakView Dashcam will capture the recording before and after the impact and immediately send the clip to the cloud (i.e., to your Force dashboard). There’s no action necessary on the part of the driver. - Driver-Initiated Recordings
If an incident occurs around you, but does not affect your vehicle – an accident ahead, for example – the driver can press the TrakView Dashcam Record button on the right side of the TrakView Dashcam. This should be attempted only when it can be done safely. - Using the Privacy Slider
If the Privacy Slider is closed, any recorded clip will show only the exterior video feed with the interior feed being blacked out. It is up to account owners to manage internal policies about the use of the Privacy Slider, as it may impact insurance discounts, crash documentation, etc. - Be Aware of Hot Climates
Your TrakView Dashcam is very durable but can become extremely hot in direct sun, especially while parked in desert or tropical climates. It may be prudent to remove the TrakView Dashcam from the windshield under certain conditions to avoid damage.
Frequently Asked Questions
What happens if my TrakView Dashcam disconnects from power during installation?
As some vehicles will only supply power to the OBD-II port for a short time while in Accessory mode, we recommend turning the engine on during installation. Should power to the TrakView Dashcam be disconnected before the activation process is complete, you should be able to restart the process when reconnected to the power supply.
When does the TrakView Dashcam start recording?
Recording starts as soon as the ignition is turned on, and will continue recording until the ignition is turned off. Recording can also be initiated when the vehicle is turned off using the TrakView Dashcam Live Stream feature.
Does the TrakView Dashcam record audio?
Yes, the video files created by the TrakView Dashcam include in-cabin audio from the microphone, even if the privacy slider is shut.
Where are the videos stored?
TrakView Dashcam video is stored on the 128 GB SD card included in the TrakView Dashcam, which can typically hold up to 100 hours of driving footage. Critical events like accidents are automatically saved to the cloud (transferred from TrakView Dashcam). All other event clips can be uploaded by requesting them from the Force Fleet Tracking account dashboard.
What do the LED lights indicate?
REC
REC solid red: Normal recording.
REC blinking slow red: An event is being recorded to the SD card.
REC blinking rapid red: Possible SD card issue; check SD card is present; if so, try resolving issue by removing and reinserting SD card.
PWR
PWR solid green: Device being powered by vehicle.
PWR blinking green: Device being powered by device battery: check that OBD plug is firmly inserted into OBD port and that dashcam power cable is connected.
PWR blinking red: Device updating.
LTE
LTE solid green: Connected to the LTE network.
LTE blinking green: Connecting to the LTE network; if condition persists (beyond 30 seconds), there is a connection issue.
LTE solid red: SIM card issue. Check SIM card is present; if so, try resolving issue by removing and reinserting SIM card.
For any other combination of lights (multiple rapid blinking, no LEDs or only one LED on, etc.), contact support.
